Advanced Transient Treatment
Mar 23, 2022, 12:00:00 PM
Need a professional mix or mastering? BOOK US today!
There was/is a really old article on Waves website, that was about a really simple trick on how to add really nice punch to almost any kind of sound, but which worked best on sound, that had a strong energy potential in the first place. It sounds kind of redundant, but the truth is once you try this, you'll know that these type of sounds pack way more punch if they are treated like this.
What you will need is basically any kind of transient shaper. Best - but not necessary - if it's a multiband one. We'll be using the Trans-X from Waves. The reason behind using a multiband transient shaper is that you can boost only the spectrum that's packing the most potential energy without unnecessary sharp artifacts from shaping the high end. When you think about it, most of the energy is stored in the lower mids to bass, and that's where you should focus. It's possible to use a single band transient shaper, but you might end up with a sound, that's going to be too sharp as mentioned earlier.
There is a way to overcome this if your DAW supports it - there's going to be a guide by the end of this article, but let's move on for now...
Let's setup our transient shapers now:
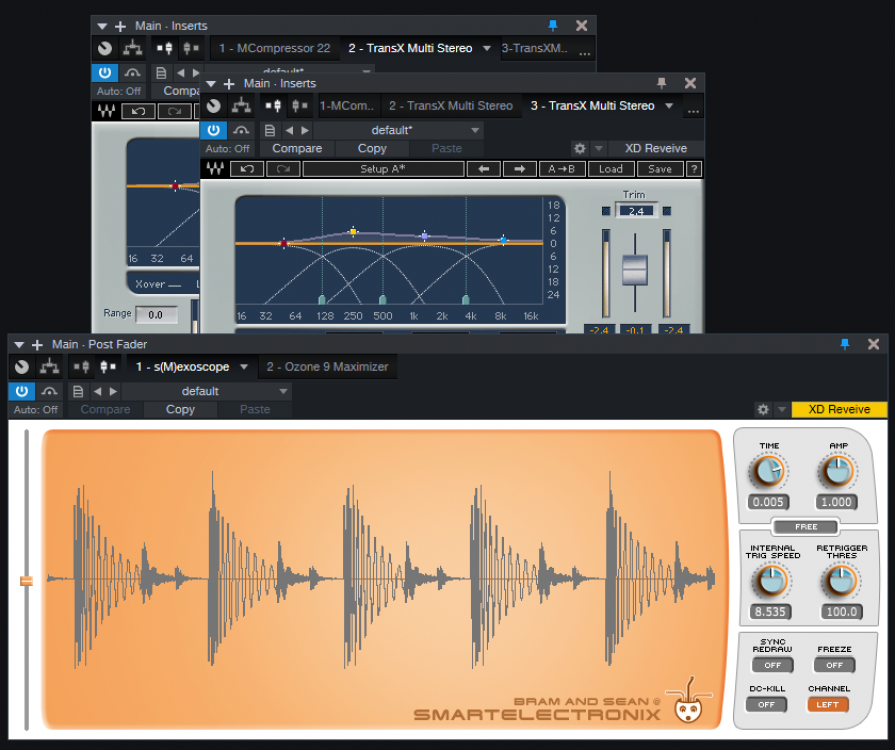
- Put two instances of Trans-X in series on your Insert track, that you want to process.
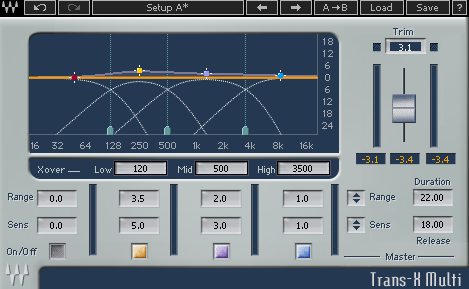
- Open the first one and set your middle cross-overs where you think you'll get the most energy.
- In our case, we have 120, 500 and 3500 Hz
- Next, set your Range. No big numbers, because we're creating the gentle base. We kept the bottom at 0. Then 3.5, 2.0 and 1.0 at the top.
- Sens parameter sets the sensitivity of each part. Set the highest number where it makes sense for you. In our case, it's the lower mid part, so were putting 5.0 there, then 3.0 in the mids to high mids, and 1.0 in the highs area.
- The bass spectrum is completely switched off.
- Let's continue to the right hand corner and set the Duration and Release. We're setting a bigger numbers, so let's go with 22.00 for Duration and 18.00 for Release. The idea is longer Duration + Release with shorter Range.
- Play your sound and pay attention to the meter above. Set your trim accordingly, so the output doesn't clip.
If your play your sound now, you can hear a gentle, pleasant punch, so let's build upon that and open the second instance of the plugin. This is where we will be creating the "spike".

- Set your crossovers to match the ones in the first instance.
- Turn off the bass spectrum.
- Set the Range higher than what you set in the first instance. We're setting 0.0, 5.5, 3.5 and 1.5
- Set the Sens a bit higher as well. We're using 0.0, 6.0, 5.0 and 1.5
- Now back in the right hand corner set the values to sharper times. We're going with 6.00 for Duration and 14.00 for Release. Again the idea here is the opposite, meaning shorter Duration + Release with higher Range.
- Do not forget to set the Trim so the output doesn't clip.
- Save the plugin chain so you won't have to do this each time you'd like to use this trick. 😉
The sound you're processing now should have a tighter feel to it, almost like a compression, but less snappy. As mentioned before, this is generally usable on almost anything you can think of, but works best on percussive sounds.
Just play around and experiment with it.
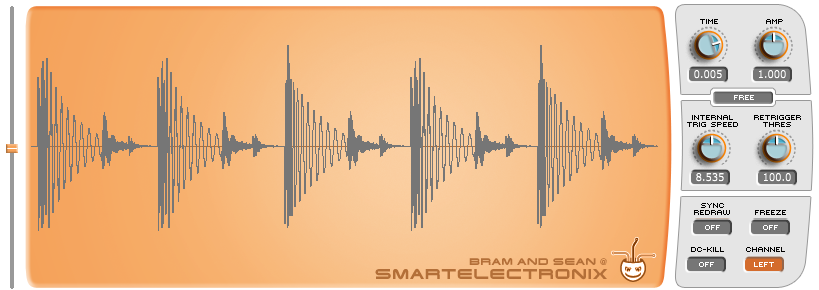
Before

After
Some DAWs support creating a custom signal paths, that allow you to use plugin in parallel setup. Moreover you can split the signal frequency wise, meaning creating a custom multiband path, allowing you to use any plugin as a multiband one.
We'll be showing you the solution in Studio One 4.6.
- Put the first plugin on your insert track and click the splitter icon
- Grab the splitter hand icon and drag&drop it to the place above the plugin.
- Increase the number of splits to 4, set the splitter to "Frequency Split" and set the crossovers accordingly. When done, copy paste each plugin to respective frequency splits.
- Set each plugin instance as you would in multiband version for the mellow base.
- Create another splitter instance in series and repeat the steps, but this time, copy the settings of the "spike" version.
- You should end up with something like this...
This is too much work for the same/similar results, but if you cannot get a multiband transient shaper and you really want to process your sound like this, it's a viable option.
We are not sure, if all other DAWs possess this function, but if you're using Studio One since version 3, you should have the splitter function ready.